Applying for Passport Online in India
The Ministry of External Affairs established the Passport Seva Project with the goal of providing individuals with passport services in a comfortable setting that is more accessible and dependable. There will be a centralized nationwide computerized passport issuance system, as well as the establishment of Passport Seva Kendras (PSKs) across the country, as well as a Data Center and Disaster Recovery Center, a Call Center that will operate in multiple Indian languages and a Data Center and Disaster Recovery Center.
As a result of the execution of the Passport Seva Project, Passport Seva Kendras are now functioning as extension offices of regional passport offices. Before filing an application, an applicant should confirm that the Regional Passport Office and Passport Seva Kendra are within their jurisdiction.
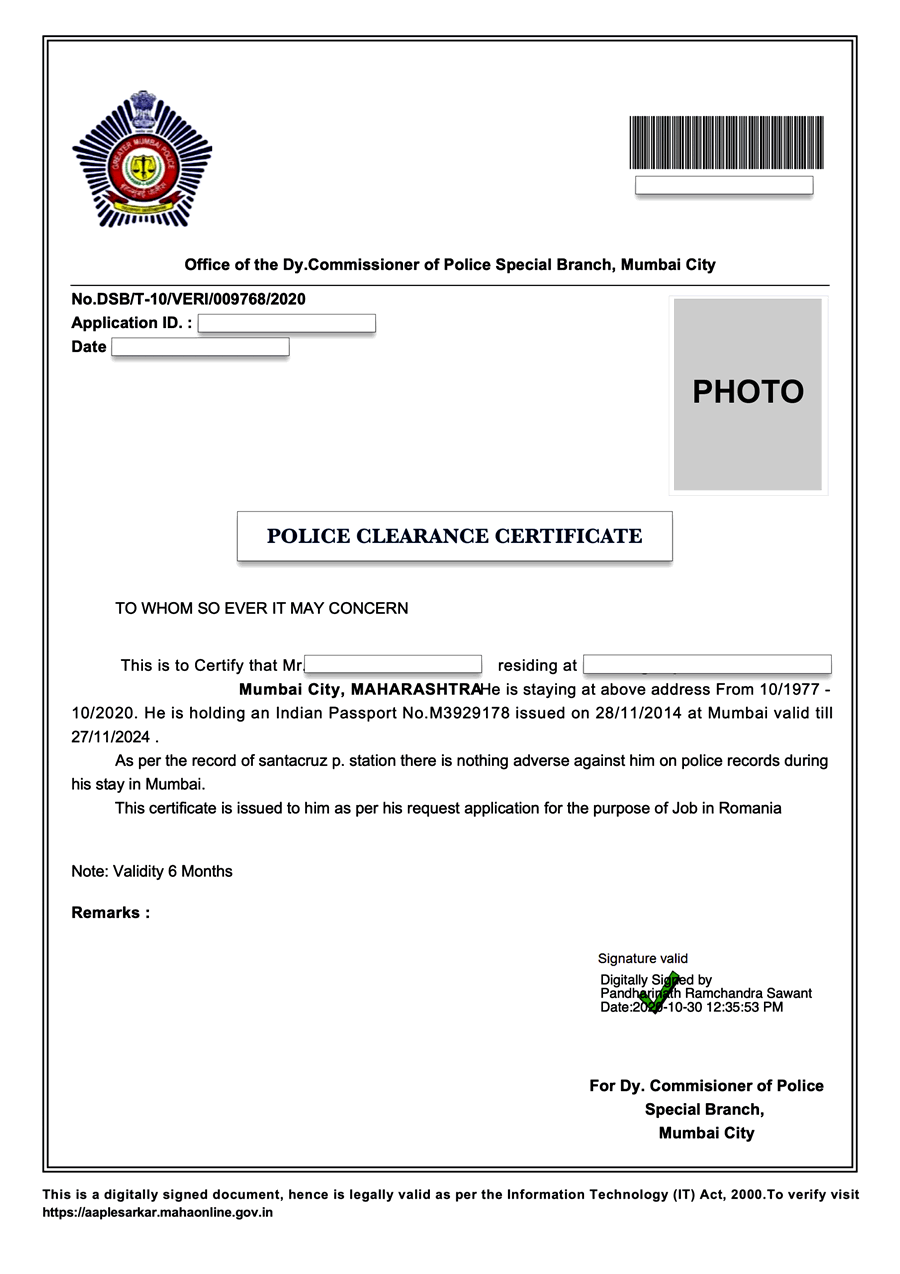
Police Clearance Certificate and other miscellaneous services: (PCC)
Since its beginning, the Police Verification (PV) procedure has been a vital aspect of the passport issue process. The procedures for police verification have changed throughout time, but the fundamental concepts have stayed the same, namely, determining the applicant’s identification, citizenship, and the lack of criminal antecedents, among others.
Passport applications submitted by first-time applicants who submit Aadhaar, an Electoral Photo Identity Card (EPIC), a Permanent Account Number Card (PAN) Card, and an affidavit in the format specified in Annexure-I will be processed on a Post-Police Verification basis. It allows for faster passport issuance without additional fees, subject to the application’s conditions. Additionally, if necessary, the EPIC and PAN cards can be authenticated from their respective databases.
Additionally, to the previous initiatives, the Ministry has launched the mPassport Police App, which streamlines the filing of Police Verification Reports (PVR). The App would make it easier for field-level verification officers to immediately enter the PV report into the system using a digital camera and tablet device. If you don’t use this app, you won’t have to print out the Personal Particulars Form and Questionnaire, resulting in an end-to-end digital flow of the procedure that may be completed in 21 days or less, making it easier for you to meet your deadline.
Appointment scheduling and application online
With the introduction of the Online Appointment system, the government hopes to reduce congestion at Passport Seva Kendras (PSKs) while also decreasing the time applicants must wait in line. In accordance with the availability of appointment slots at the requested PSK, the system will assign an appointment date and time to the user on their behalf.
Simple steps must be followed in order to submit an online application and schedule an appointment.
Registration, completion and submission of an online application form are all done online (alternatively, download e-form, fill up and upload the same at the Online Portal)
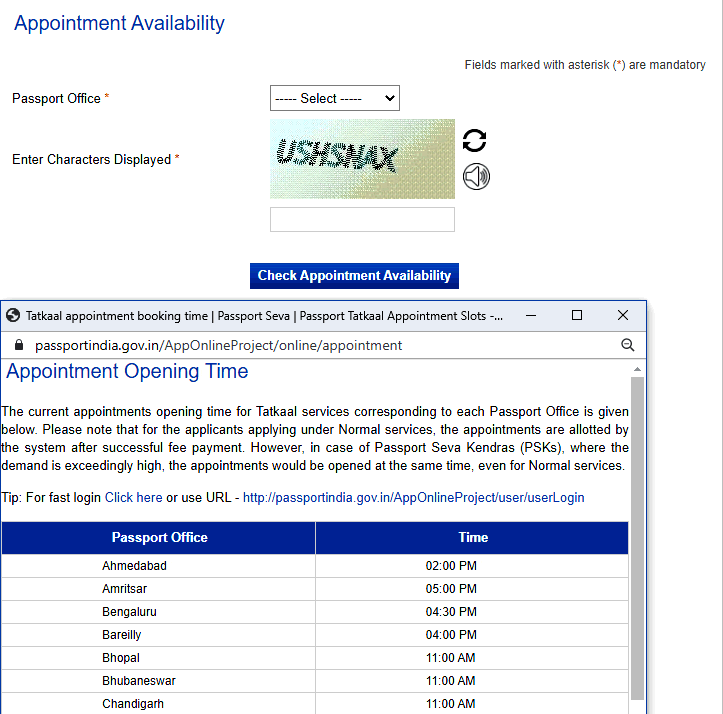
To complete the procedure, make an appointment with a Passport Seva Kendra (PSK) (see Online Appointment Booking Instructions for more information). To find out whether an appointment is available in the passport office of your choice you can visit the official site.
To obtain and manage an appointment, the following steps should be taken:
Step 1: Visit the website passportindia.gov.in for further information.
Step 2: Create a ‘user name’ and a corresponding ‘password.’
Step 3: Enter your “user name” and “password” to access the site.
Step 4: Complete the online application form, if applicable, and submit it online (alternatively, download e-form, fill up and upload the same at the portal). The uploading of documents is completely optional.
Step 5: Check with your Passport Seva Kendra (office) to set up a time to get your passport (appointments are released region-wise). They should click on the ‘Schedule Appointment’ link to arrange an appointment as soon as the appointments are made available (please refer to the region-specific timings). If a slot is available, an appointment will be instantly scheduled and assigned to you.
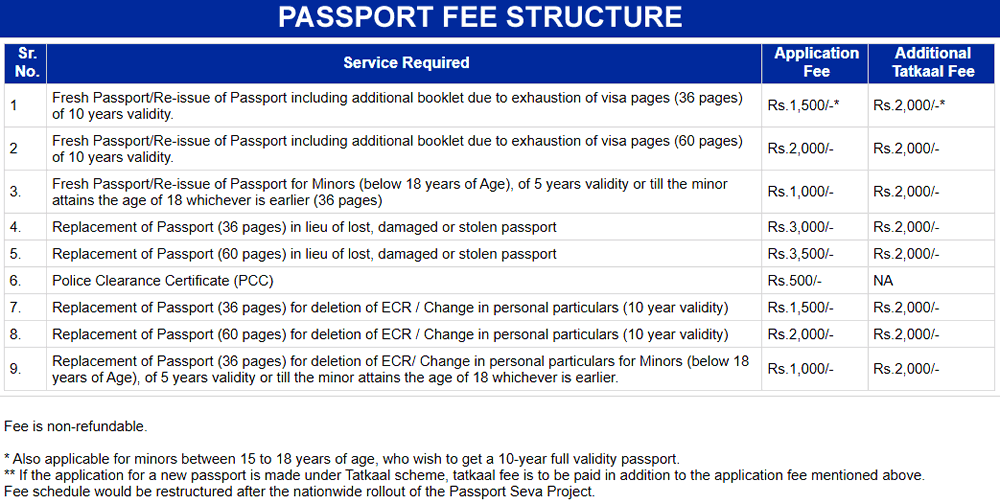
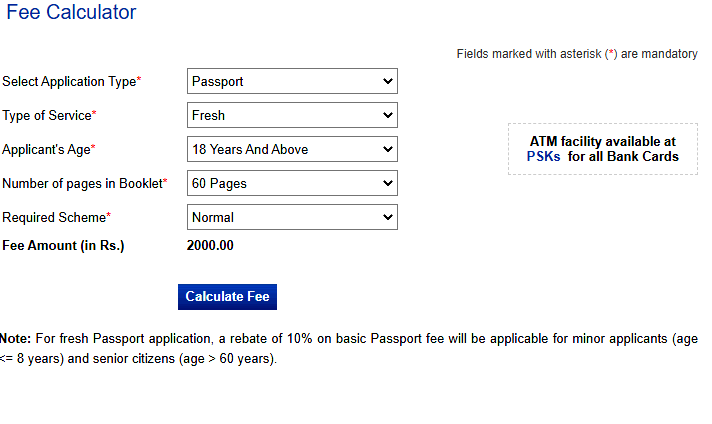
Please keep in mind that appointments at PSKs cannot be scheduled without first paying the passport service cost. The Online Payment function has been made available through the Passport Seva Online Portal in order to facilitate this process.
Any of the following methods of payment can be used to complete an online transaction:
- Credit/Debit Card (Credit/Debit Card) (MasterCard & Visa)
- Internet Banking is available only through the State Bank of India (SBI) and its associate banks.
- Payment for SBI Bank Challans Using a Credit or Debit Card
The procedures below should be followed if you want to pay using a credit/debit card or through Internet Banking.
Step 1: Pick the appointment quota (i.e. Tatkaal Quota or Normal Quota (needed solely for Tatkaal ARN instances)), select the chosen Passport Seva Kendra, and then click the Next>> button.
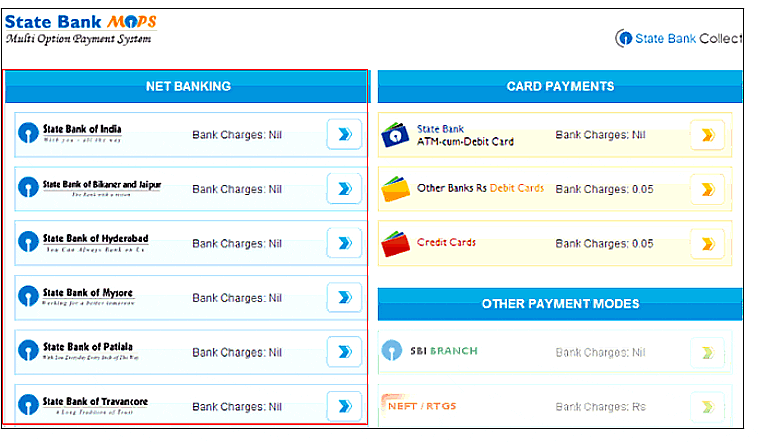
Step 2: Select the Pay and Book Appointment button to be sent to the Multi Option Payment System of the State Bank of India (MOPS)
Step 3: Select the payment method (NET BANKING or CARD PAYMENTS), follow the on-screen instructions, and complete the transaction. Please refrain from using the Back button or refreshing the page, since doing so may result in the transaction failing.
Step 4: Once the money has been processed successfully, an appointment will be scheduled for you at the Passport Seva Kendra of your choice, and the “Appointment Confirmation” screen of the PSP Portal will appear.
Step 5: Take a copy of your Application (ARN) Receipt with you to the Passport Seva Kendra on the day and time of your booked appointment.
Please visit passportindia.gov.in for further information on the e-Form and how to submit it.
To make a payment with a Challan
Step 1: Generate and print an SBI Bank Challan by clicking on the “Pay using Challan” option on the payment page.
Step 2: At least three hours after the Challan has been created, you must submit it and the necessary application cost to the nearest SBI branch.
Step 3: Payment will be recorded in your account after at least two working days after depositing the fee in the SBI branch. To track the status of your payment, click on the “Track Payment Status” link.
Step 4: If the Payment Status is indicated as “Success,” click on the “Arrange Appointment” option to schedule an appointment with the customer service representative.
Step 5: Pick the Appointment Quota (i.e. Tatkaal Quota or Normal Quota (needed exclusively for Tatkaal ARN instances)), select the chosen Passport Seva Kendra, and then click the Book Appointment button. An appointment (if one is available) will be scheduled automatically for you at the Passport Seva Kendra of your choice.
Step 6: Print off the Application (ARN) Receipt and bring it with you when you visit the Passport Seva Kendra on the scheduled appointment day and time.
Please keep in mind that when making an online payment, applicants applying under the Tatkaal category will only be required to pay the cost that is payable under the Normal Category. Once the Tatkaal application has been accepted by the Passport Officials, the remaining balance of the amount will be due in “Cash” at the Passport Seva Kendra/Passport Office where the application was submitted.
The online payment will be valid for one year from the date of the first appointment. If applicants do not submit their application to PSK within this time frame, the amount they have paid will be forfeited.
Chargebacks and refunds
For passport-related services, there will be no consideration given to any requests for refunds, returns, or exchanges of fees. Refund requests for passport-related services, including other services, that are made several times for the same ARN shall be dealt with according to the policies currently in effect.
